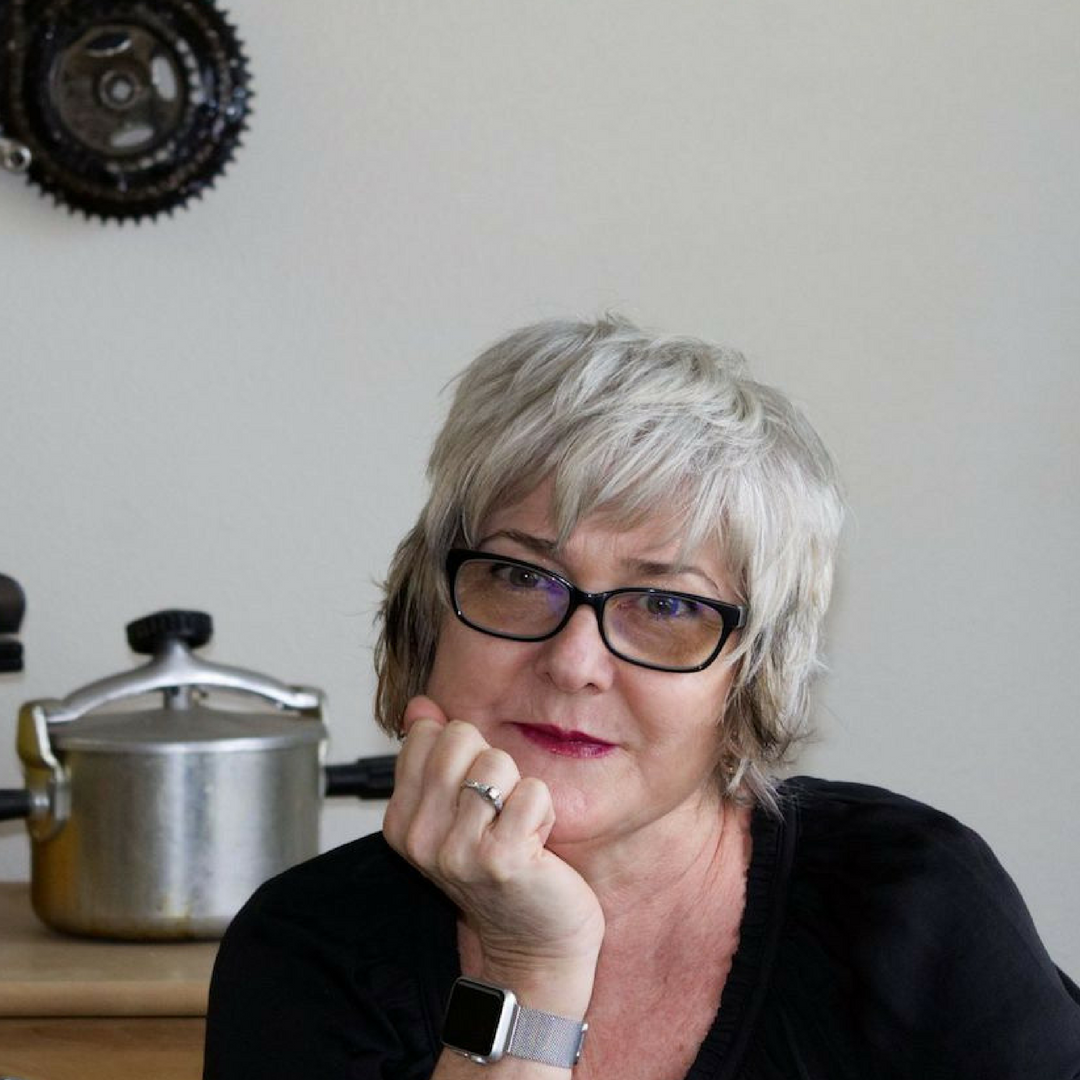
My friend Megan bought a pressure cooker and rice cooker last week and she asked if she could come over for a cooking session together–a perfect opportunity to VLOG!
A few follow-up notes to the VLOG lesson:
- While we covered how to get the pressure cooker going, we didn’t talk about what to do when the food has completed cooking at pressure. Megan and I both chose to use the natural release method for bringing the pressure down. This means that once our beans had cooked at high pressure for the prescribed amount of time (4 minutes for my kale, quinoa and navy beans and 12 minutes for Megan’s chickpeas) we removed the pressure cookers from the burner and simply left them alone, waiting for a natural release in pressure. Once pressure is released, simply remove the pressure regulator (not a “heat” regulator, as I referred to it in the video!) and then open the pressure cooker lid, away from you. That’s it.
- When I said I rinsed my beans over night? Yeah, that didn’t happen. But I did soak them over night! (and rinsed them before cooking them…)
- In both of our cases, when using the rice cooker, we simply set the rice cooker on an auto setting (brown rice for my rice and pasta and regular rice for Megan’s lentils). We did both start checking on the rice cooker after about 30 minutes and Megan found her lentils were complete before the cycle ended. Lentils can get mushy, so it’s wise to check on them.
Here are the yummy eats!

JL’s Navy Beans with Quinoa and Kale
PRINT RECIPE
Ingredients (Intuitive cooking, folks! Use whatever quantity of each ingredient that makes sense to you!)
- Sesame oil
- Red onion
- Garlic
- Navy beans (soaked overnight, rinsed and drained)
- 1 cup of quinoa (rinsed and drained)
- 2 handfuls of kale (washed and torn into bite-size pieces)
- Filtered water
- Bay leaf
- Fresh thyme
- Lemon juice
- Sea salt (iodized)
Instructions
- Heat the pressure cooker, uncovered, and add sesame oil (about a tablespoon). Saute onion and garlic and then add beans, quinoa and kale. Add water. Cover the beans and then add more water, about a half an inch over the beans. Add a bay leaf and a sprig of fresh thyme.
- Place the lid on the pressure cooker and turn heat to high. Bring to high pressure and then reduce heat to low (enough to continue the gentle rocking of the pressure regulator) and cook at pressure for four minutes.
- Remove the pressure cooker from heat and allow to release pressure naturally.
- When pressure is release, slowly remove the pressure cooker lid away from you.
- Stir in the juice of half a lemon and add iodized sea salt, to taste.
- Serve with black pepper.
Note: Normally when cooking quinoa I would use a quick release. In this case I opted for a natural release, for creamier beans, and the result was an interesting quinoa texture, much like grits, which I enjoyed immensely. So don’t be alarmed by how the quinoa looks. It’s incredibly tasty!
JL’s Cheesy Rice & Pasta
PRINT RECIPE
Ingredients
- 1/2 cup brown basmati rice
- 1/2 cup kamut pasta
- Filtered water
- 1 pat of earth balance (vegan “butter”)
- Sea salt, to taste
- 2 t nutritional yeast
Instructions
- Place the pasta and rice mix in the rice cooker. Add filtered water to the “1” line for brown rice. Add earth balance and sea salt. Set rice cooker on brown rice setting.
- During the last five minutes of cooking, stir in nutritional yeast.
I ate this delicious cheesy dish with Megan’s lentils–which she made in the rice cooker with herbes de provence–with a little Cholula sauce for dinner last night. Mmm Mmm! (Oh, Megan plans to share her chickpea recipe soon!)
We had a fun conclusion to the video but it was blurry and annoying. What you missed is our delight in bulk cooking together, our decision to try to cook together once a month and Megan’s declaration of love for her rice and pressure cookers! If you want to see the blurry blooper/outtake, have at it. Hopefully our enthusiasm comes shining through.
What can I say? I’m an amateur! Good thing I’m going to Vida Vegan Con next week! I need some skills!
15 thoughts on “VLOG: A Pressure & Rice Cooker Lesson (When the pressure cooker’s rockin’, don’t come a knockin’)”
Comments are closed.


Thanks for the Vlog. I needed this cause I’ve never used a pressure cooker and I really want one (your fault). Today’s recipes, and yesterday’s look really, really good.
Thanks, Liz! Please email if you have any questions about using your pressure cooker!
i love this! my mom still adores her pressure cooker. maybe i should borrow it from her? thanks for the tips and recipes! to answer your question from my blog-no i have not tried avocado oil yet…..
Yes, borrow it! I think you would really get a lot of use out of it!
Wonderful vlog, thanks! I think I’m finally gonna buy a pressure cooker this winter! And I need to see about the books too. 🙂
Both books are excellent!
JL, i think you just made vegan rice-a-roni!!! ; D
Ciao,
L
hippressurecooking.com
making pressure cooking hip, one recipe at a time!
I think you are right! 🙂
I’ve been meaning to do a video like this for 8 years! I called up Fagor (my favorite mid-range brand of pc) to ask them if they want me to be their spokesperson because I’ve gotten hundreds of people to buy their pressure cookers lol. Almost all my friends have them as well as my students. THEY RULE!!!! A must have for every vegan kitchen!
You should do it, Christy!